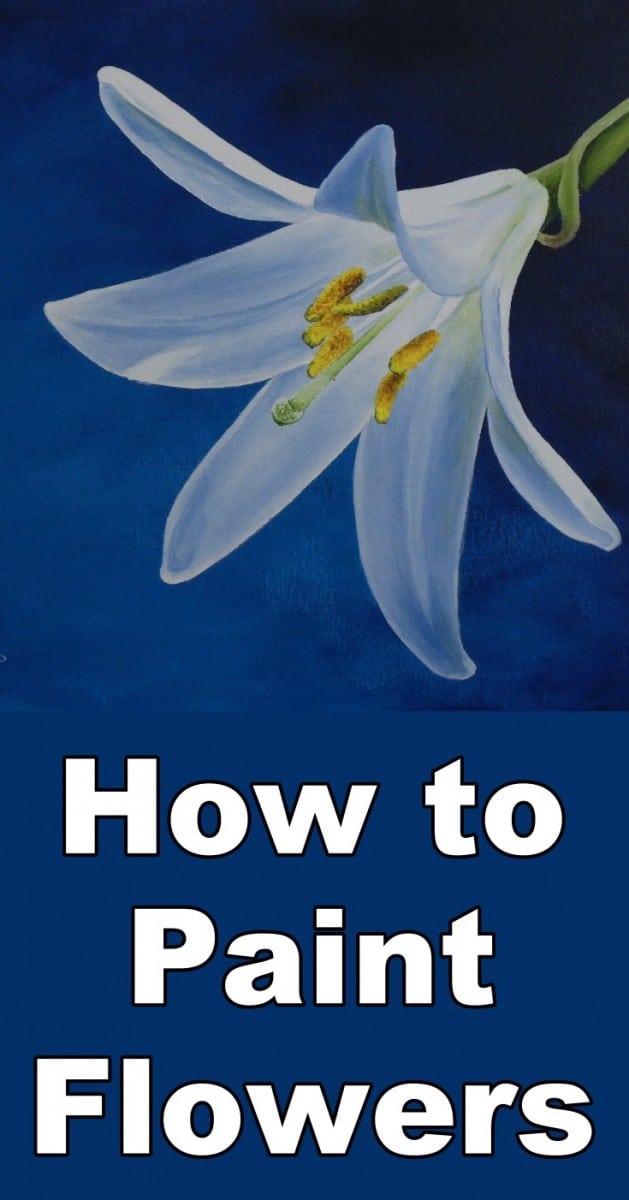
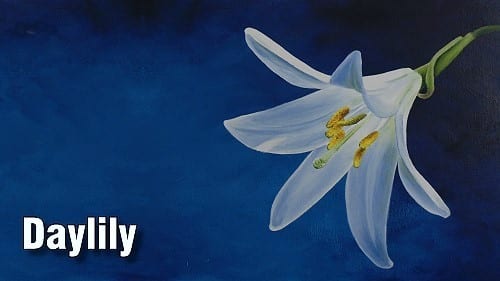
Class Video
Class Tutorial
Transferring and masking the flower
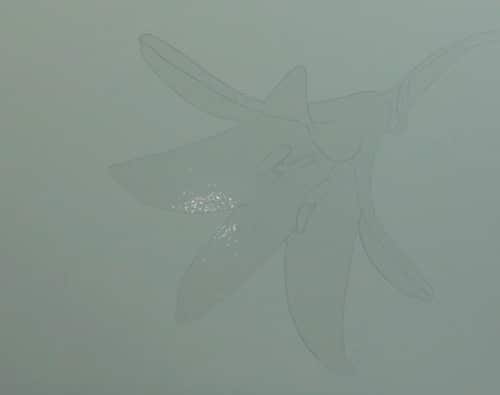
Transfer the flower to canvas using your preferred method. Then use a product such as Clear Cover to mask it.
Painting the background
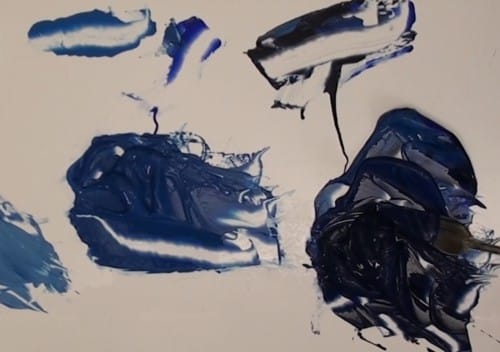
Mix the paints needed to achieve the range of blues for the background. Mist the paints and canvas before beginning.

Starting at the bottom left, brush on the tones of blue as they appear in the reference photo. Overlap the mask so that the background will appear to sink behind the flower. Mist as needed. Use the tip of the brush and make light criss-crosses to blend the colours. Try to make it as smooth as you can. Dry it and come back for a second coat.
Thin down the colours to do a colour wash. Mix additional paint if you are running low. Brush on an even coating, putting the different colours in the same spots as you did initially. Leave behind some brush strokes to give a desirable textured, smoky look.
Dry the paint. Wipe any excess paint off the edges.
Painting the daylily
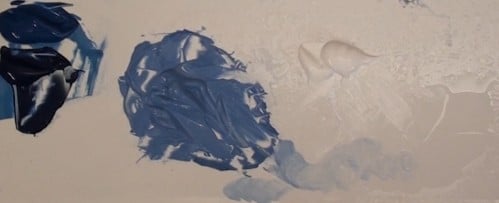
Carefully remove the mask.
Reserve some of the blues as you will need them for the daylily because it will reflect some of the background colour. Clean the palette.
Using white as your base colour, add varying amounts of blue to get several different tones as seen on the reference photo. As you work, however, you will find the need to make small impromptu mixes for very small areas. Remember to keep the paint well misted.

Begin by painting the upper part of the top left petal with neat (pure) white to create a nice sharp edge. That sharp edge is important to give the flower distance from the background. Add a slightly darker tone for the “kink” in the petal.
There are two different techniques for painting petals of varying tones. First, on this petal, paint the area all neat white. Work quickly so that it does not dry before you blend in the darker tones. Do start with the darkest tone first. Constantly check your reference photo to get the tones in the right places.
For the next petal, use the second technique which is to block in the colours as they appear on the reference photo, then blend them in. Make impromptu mixes as needed. If you go out of the painting area, immediately go over it with a clean soft brush to take off the stray paint.
Remember to rub excess paint off the brush as you do your blending. Switch from a bristle brush to a soft filbert when you do fine details.
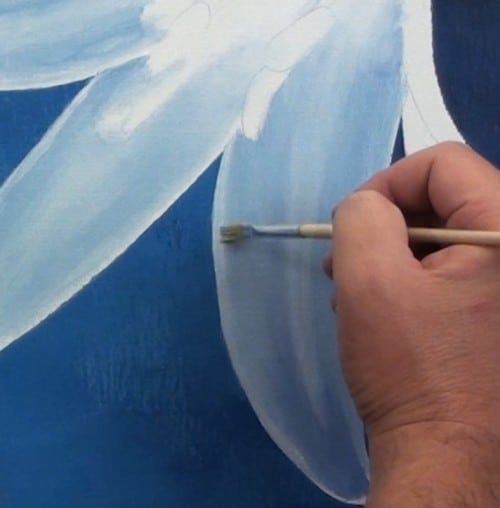
For the next petal, use the first technique and cover the petal with white. Then blend in the blue values. It may take several layers as the white background will lighten the tone.
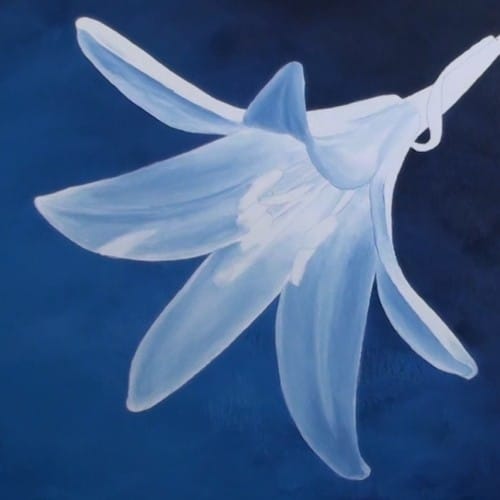
On the next petal, try again with the second method. Paint on the different shades in the correct places and blend as you go. Sometimes it may be easier to lift out paint than to mix a lighter blend for a small area.
Now that you know both techniques, use whichever you prefer to finish the remaining petals and the cup portion of the flower.
Go back over the flower and adjust to be sure that the contrasts are correct.
Painting the stem
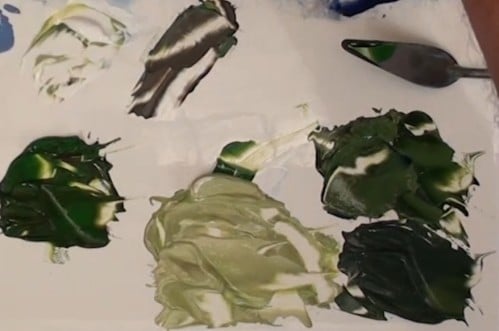
Put the existing paint off to the side to save for touch-ups and impromptu mixes. Clean the palette and brushes.
Place some sap green on your palette, then a add touch of raw umber to break the intensity of the green.
Make another tone with white in it. Mix a darker tone with the dark blue in it. Add a touch of white to dull it down. Make a fourth tone with a bit of Payne’s grey.
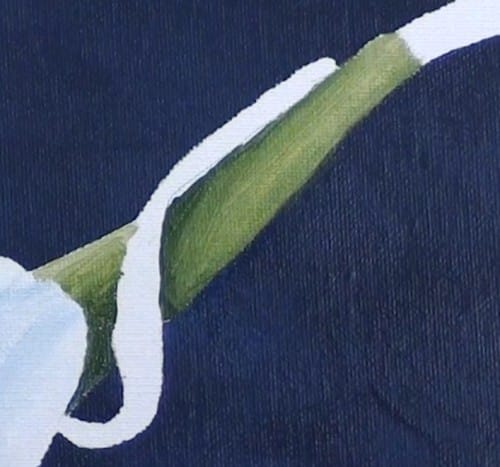
Block the stem, starting with the darkest green. Keep your edges clean and sharp. Switch brushes as needed. Create a sense of rounding with a slightly lighter shade on the bottom edge of the stem. Blend the highlight colour into the shadow colour at the very top of the stem. For the curled part of the stem, add a touch of purple or raw umber where it turns dark just before reaching the flower. Blend.
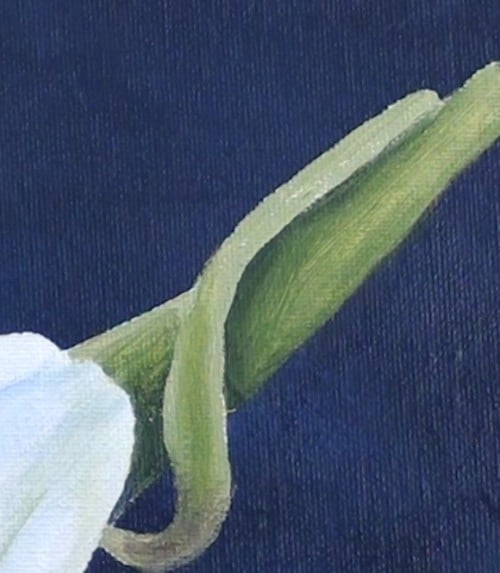
The bottom of the stem will be dark as it is in shadow. Add a touch of a highlight.
Painting the stem reflections
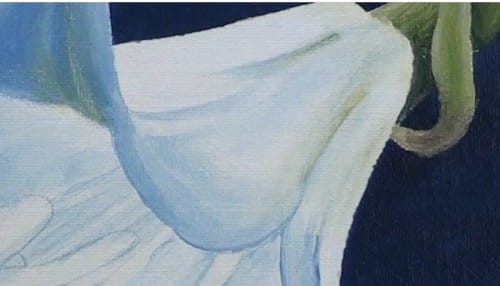
Using a clean, dry brush, add a hint of the stem reflection on spots around the flower. Blend it in as it is more of a wash than a full-on colour.
Painting the stamen and pistil
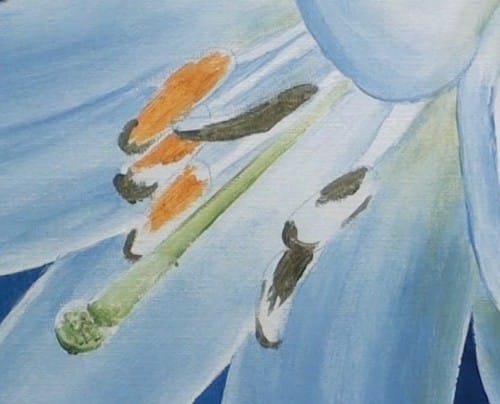
Using a small brush, paint white on the stems of the stamen. Be sure the edges are sharp. If necessary, use a fine liner to darken the area between those stamen stems to make them stand out.
Mix a green shade to paint the pistil. Paint the pistil white, then blend the greens into it. Use a thin green line on both sides to suggest a rounding.
Now for the focal point of the painting – the yellow pollen on the stamen. You might want to watch the technique Nolan uses for this first, before attempting it yourself. It’s a multi-step process, but the finished product is quite dramatic and worth the extra effort.
Start by using a fine liner to paint yellow ochre for the dark spots on the stamen. You may want to add a little blue to it for the very darkest spots.
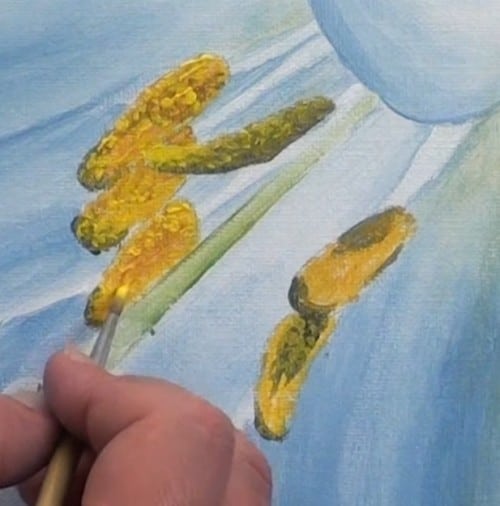
Dab some dot-like yellow shapes onto the stamen (yes, over the dark colour you already painted there). Then add more in the shadow colour. Drop some white dots, too, for added contrast. Use neat yellow for the highlights. Add a final layer of yellow-white dot shapes. Finally, check the reference photo to see that you have all the correct colours in the right places.
Final painting
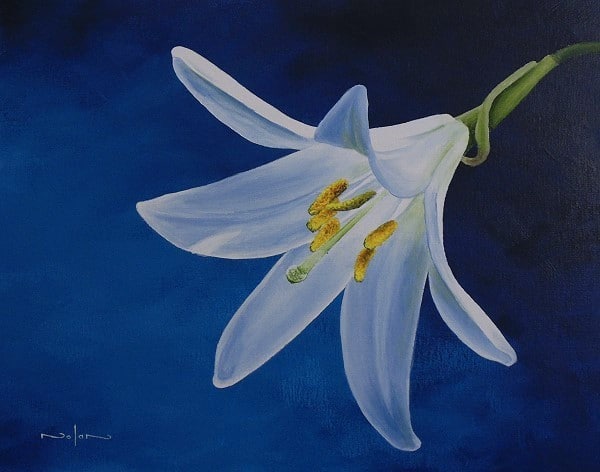
Click the button below to view the real time follow along version of this class:
Pin Me
