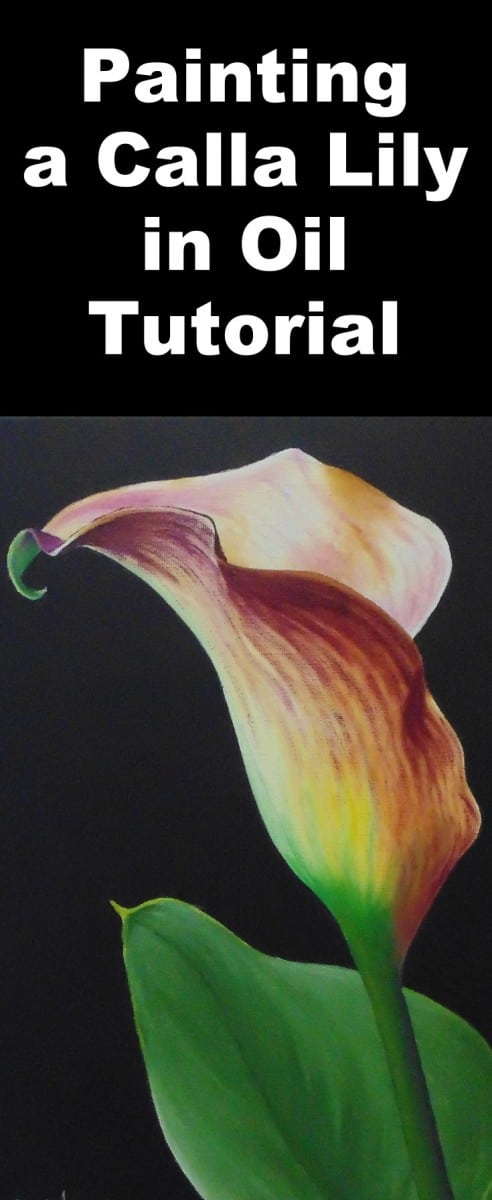
Class Tutorial
Preparation Stage
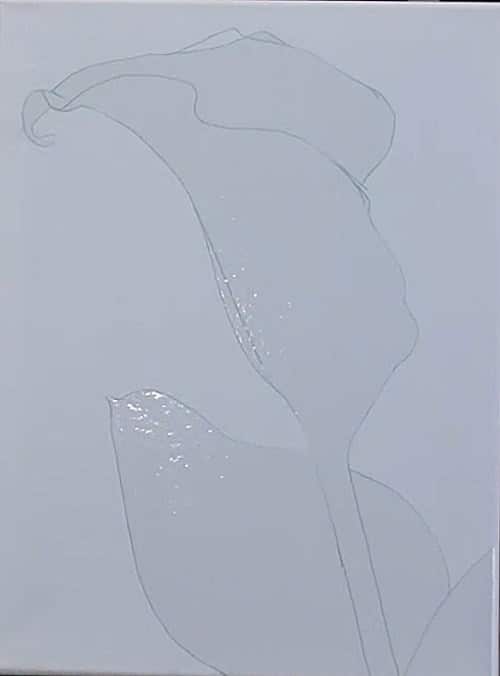
Use the lesson template to trace the flower onto the canvas. To keep it clean while you paint the background, use a masking of Clear Cover (or similar material) to protect it.
Painting the background
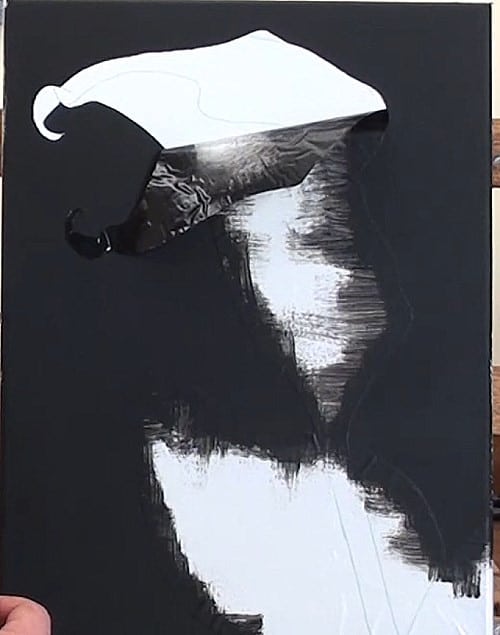
Opt for an acrylic paint to do the background so that it will dry quickly, with less likelihood of contaminating your flower colours. Once you have finished the background, carefully remove the mask from the flower.
Mixing the colours for the flower

Closely study the shades in the reference photo to prepare for mixing the paints you will need for mid-tones, highlights, and shadows.
Painting the flower
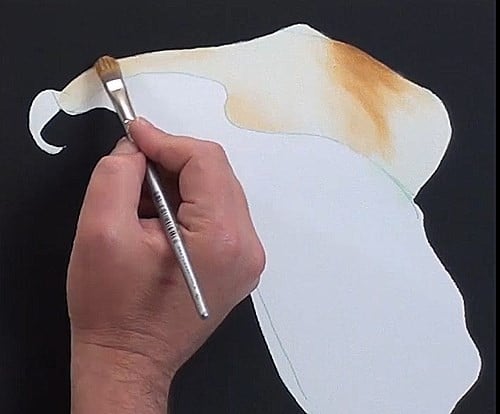
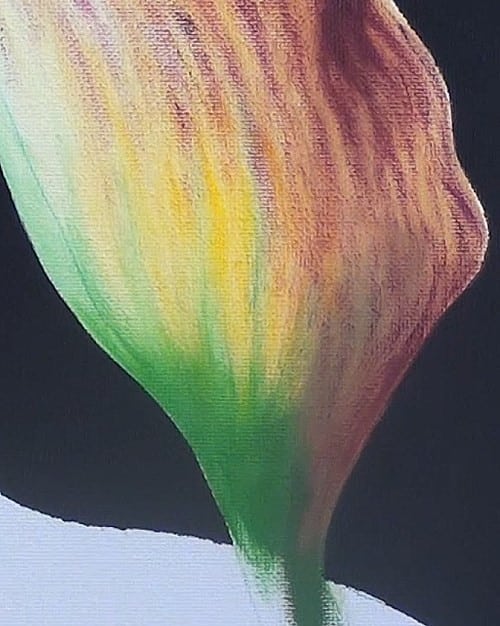
Starting at the top, block in the basic colours. Add the lighter tones and blend them in. After adding the pinkish tones, blur some of the edges with a clean, dry brush. Add highlights and contrasts.
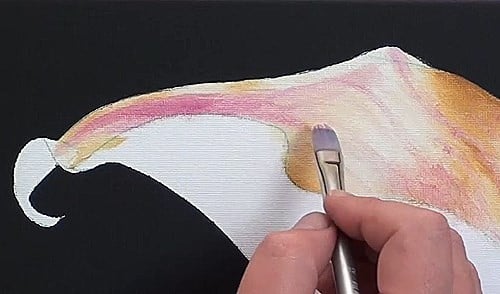
Note how Nolan forms a chisel point with his brush to paint a sharp, turned edge at the top right corner of the flower. Move to the top left and paint the triangular purplish area .

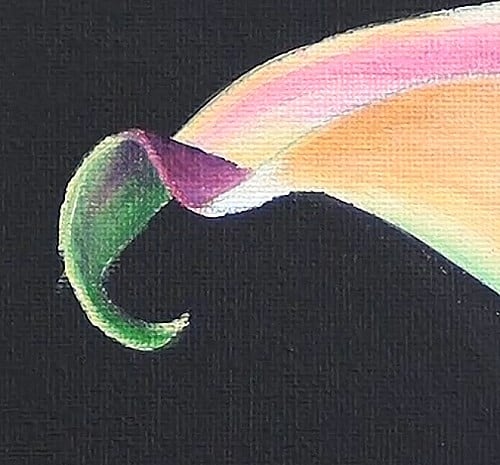
Look closely at the hues along the outside of the flower and mix the paints for that area. Scrub in the colours in the appropriate areas, working light to dark. Add in the green tones along the side edge and the bottom of the flower.
Add the shadowing along the right underside of the flower and the top left corner. Then paint the tip on the top left. Carefully follow Nolan's instruction to create the looking-in-and-under effect in this spot.
Painting the purplish details
Closely study the shades in the reference photo to prepare for mixing the paints you will need for mid-tones, highlights, and shadows. Use the dry brush technique to apply the purplish paint, starting in the upper left corner. Mask off any areas you want to protect. Add a thin edging to the top of the flower and on a few contour lines on the outside of the flower, too. This is the perfect opportunity for you to practice making super fine lines!
Painting the maroon areas
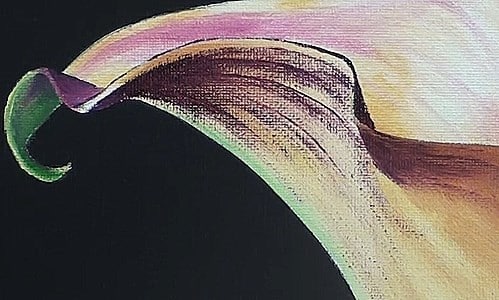
Prepare the maroon tones you will need. Again, use the dry brush technique to apply theses tones. Follow the contours of the flower as you work down the painting, tapering off as you reach the bottom.
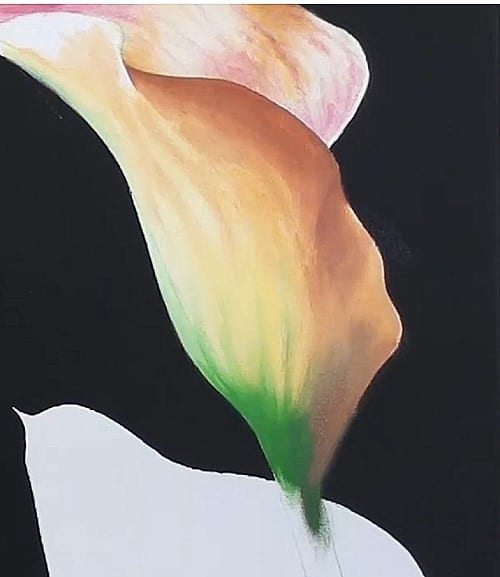
Painting the sunlit areas
Use a clean brush and yellow paint to accentuate the sunlit area at the base of the flower, again using the dry brush method.
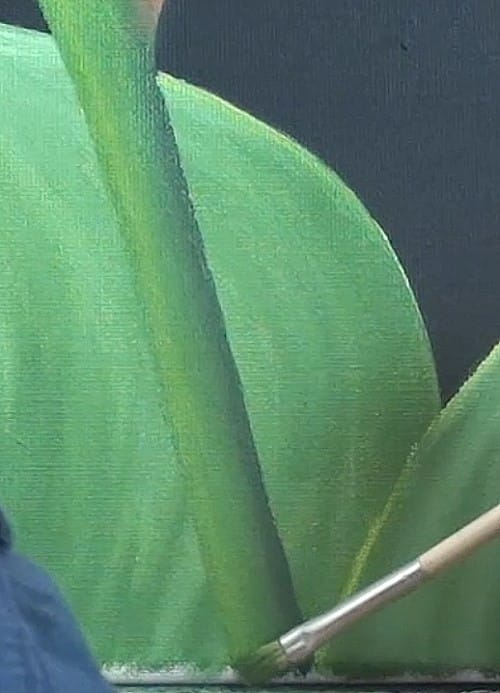
Painting the leaves
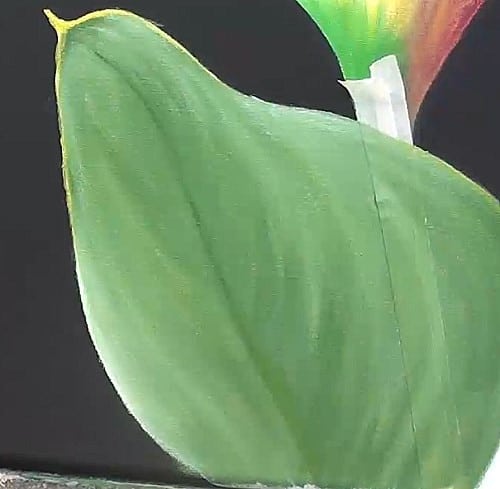
Mix the range of green tones you will need for the leaves. Mask off the stem to protect it. Apply the dark paint lightly on the obvious contour lines, then go over them again with a heavier hand. Fill in with the lighter tone. Then lighten and darken where needed to show highlights and shadows. Add the white along the flower edges.
Painting the stem
Remove the masking tape from the stem. Mix a contrasting color to help the stem stand out from the leaves. Paint the tones down the stem, then blend them. Watch as Nolan “completes the rounding” to finish the stem.
Final overview
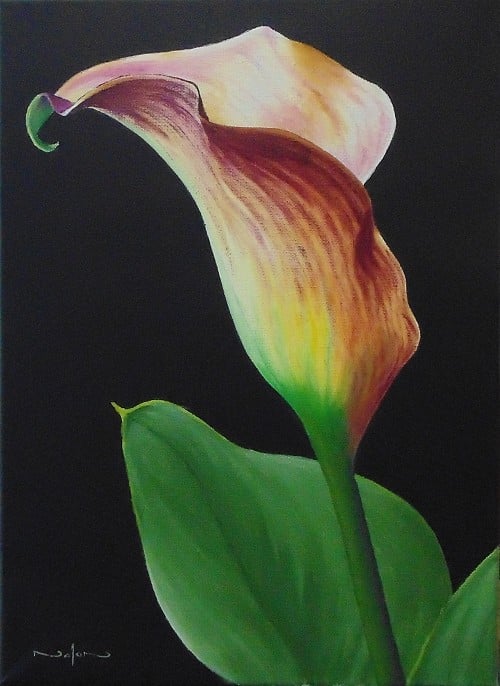
Take the time to closely examine the contours of the flower and leaves so that you can take this experience with you to future paintings. Remember how the dry brush technique was used and find ways to apply it again.
Click the button below to view the real time follow along version of this class:
Pin Me