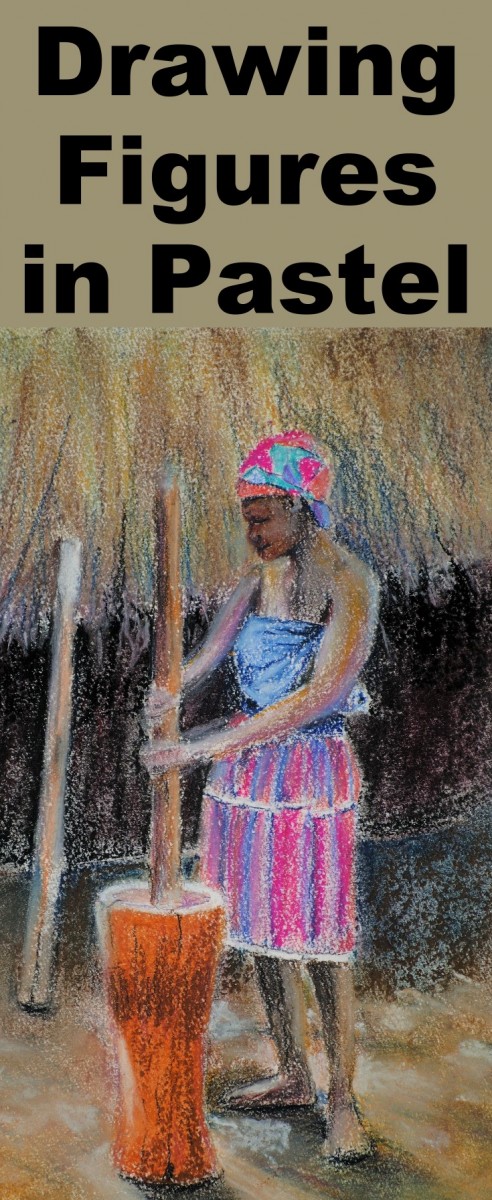
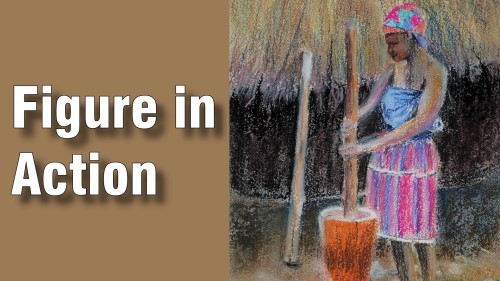
Class Tutorial
Transferring the template

Use the information in the reference materials for this lesson to transfer the template to your paper.
Painting the background
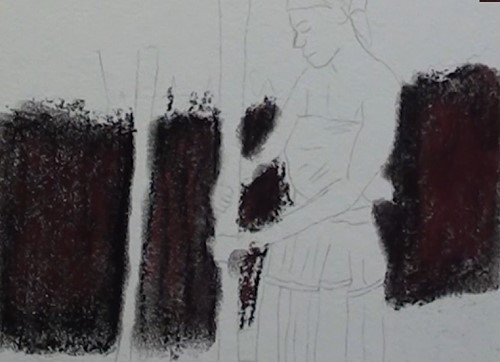
Start with the darkest color to block in the dark shadows inside the hut. Overlay a bit of red colour onto the shadows. Blend the colours in with your finger or a blending tool. Add more red if needed.
Painting the thatched roof
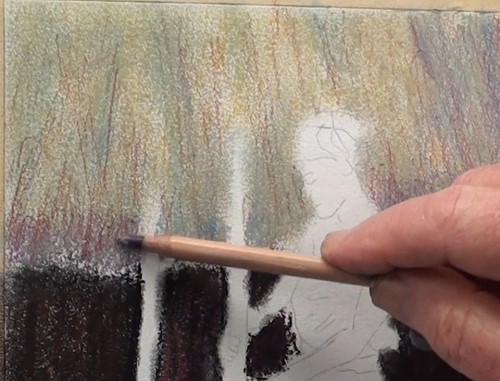
Block in the yellow colour of the straw and sunshine. Blend it in with your finger. Use a bluish tone to add the lighter shadows in the thatch. Blend. Add blue to create the darker shadows. Blend again. With a brown pencil, draw in a hint of the reeds. Use a violet pencil to add more shading and a white pencil to add the sunlight hitting individual grasses. Add brown grasses, then lightly blend. Darken the area where the roof thatch meets the shadows inside the hut.
Painting the stamping poles
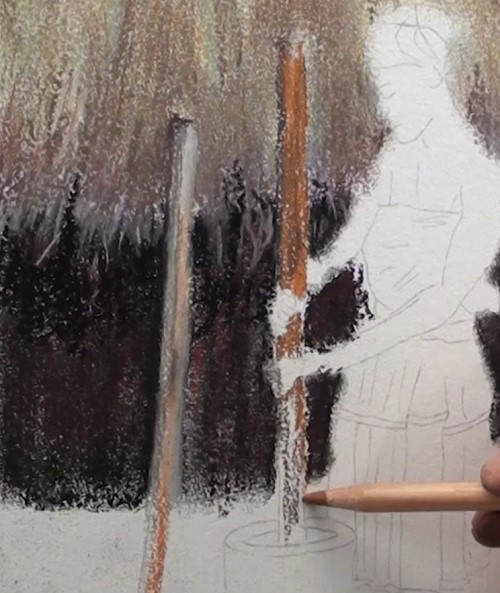
Use white pencil to colour in the pole to the left. Blend in some brown tone to simulate a wood grain. Add shadows and highlights.
Use the same technique to colour the pole on the right.
Painting the young woman

Colour in the spots of sunlight on the woman’s upper body using white pencil.
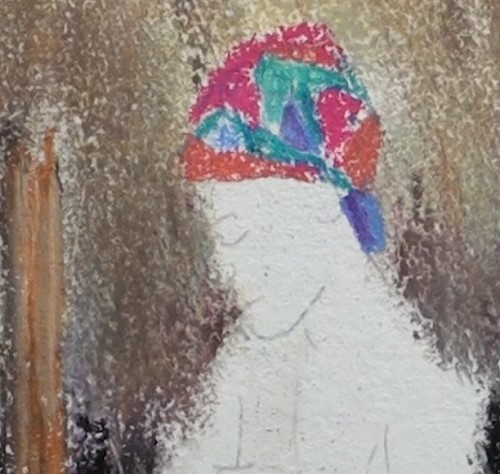
Colour her head covering.
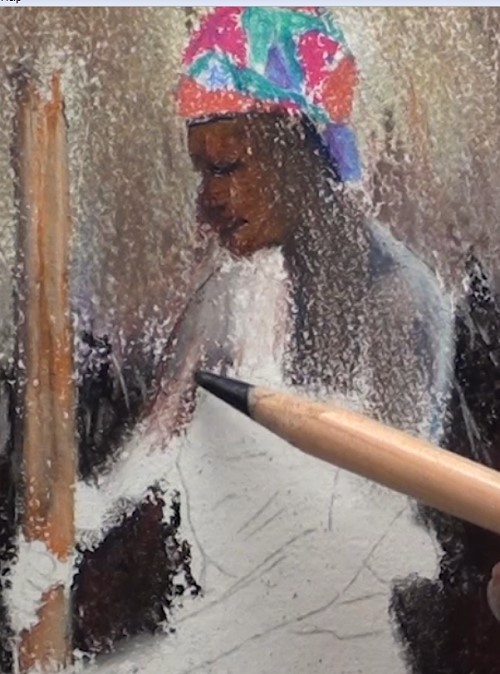
Begin colouring in her skin and outlining her facial features. Blend where the skin meets the sunlit areas. Darken the shadowy areas. Blend.
Painting the blue top

Pencil on the shades of blue to her top. Shade in the folds and lighten the sunlit areas.
Add shadows and highlight to the skin and the top
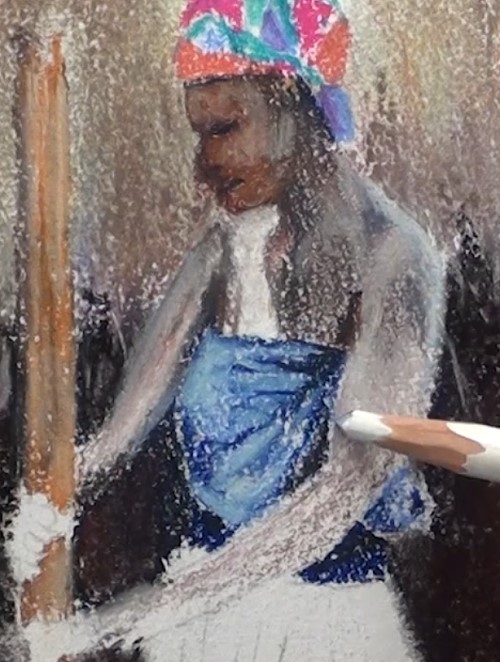
Darken areas of the skin and top as seen in the reference photo. Use highlights and shadows to give contour to the face.
Painting the skirt
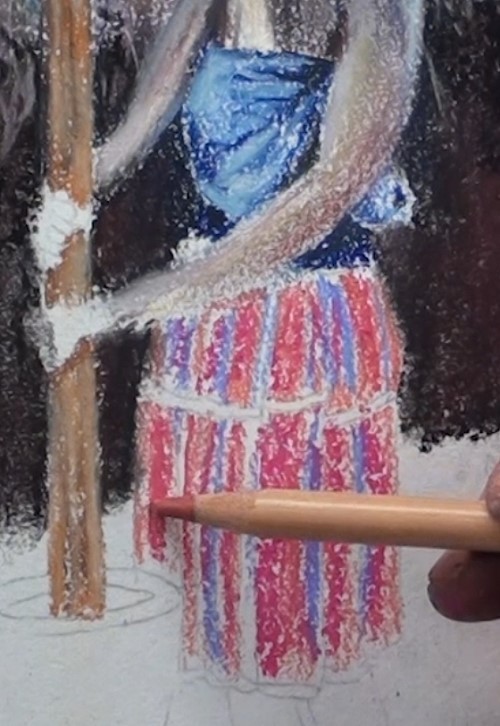
Block in the pinkish stripes on the skirt, then pencil in the blue stripes. Blend the colours together by using a pink pencil. Do the same with a blue pencil, then a white pencil to add highlights and accentuate the folds.
Painting the hands
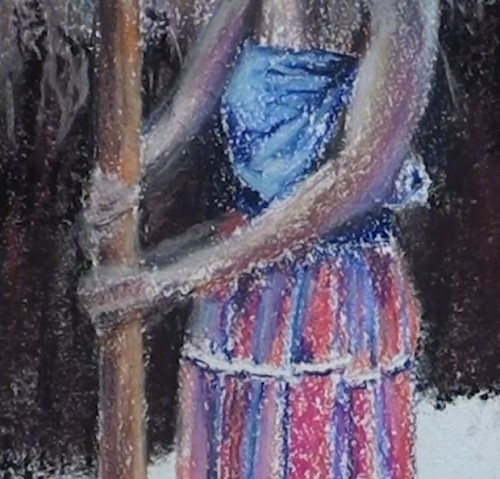
Slightly blur the hands by smudging the area around them to give the illusion of a stamping action.
Painting the ground
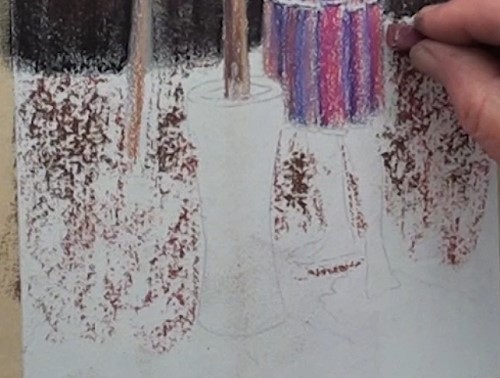
Use a brick red colour to block in the ground tone. Add darker colours in the shadowy areas. Blend them together. Add the sunshine color as seen in the reference photo. Blend.
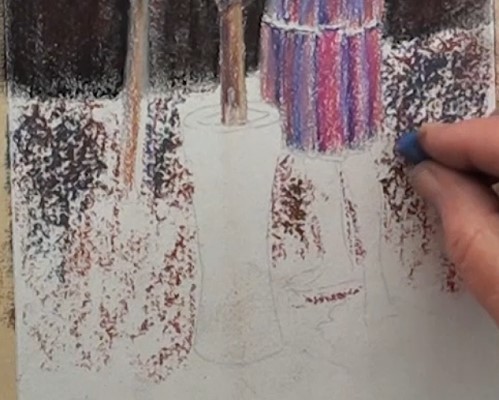
Bring some sky colour into the shadowy areas. Add even darker shades to build up the contrasts.
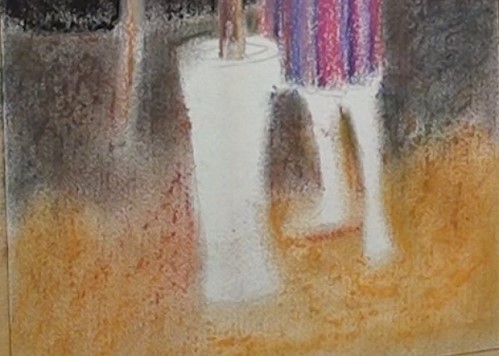
Bring some of the earthy colour into the sunlit areas.
Painting the legs
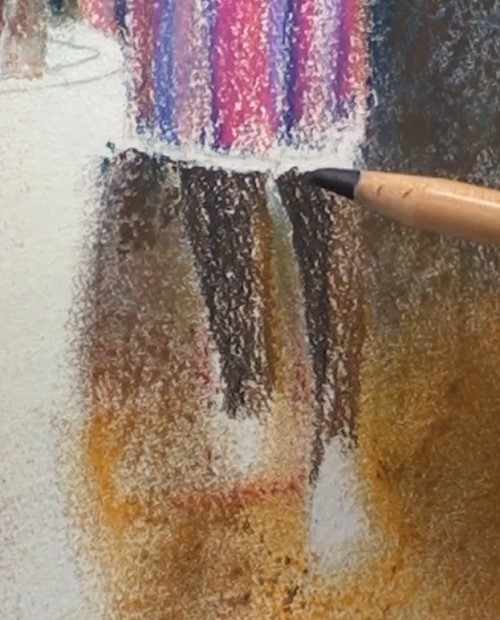
Pencil in the skin colour and use shadows and highlights to shape the legs. Roughly shape in the feet.
Finishing the ground
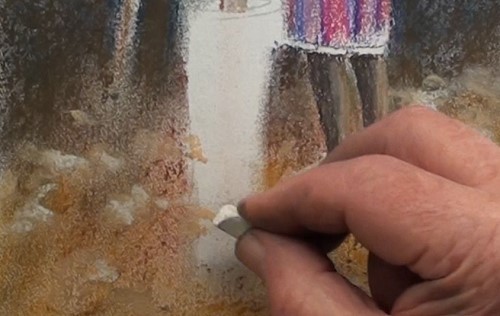
Add spots of lighter colours as seen in the reference photo. Tap them with your finger to blend them in.
Adding the ground shadows
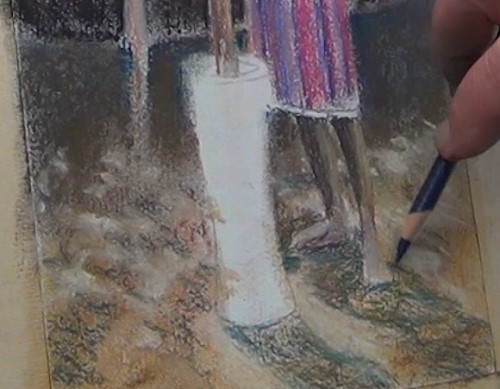
Using a blue pencil, draw in the cast shadows as seen in the reference photo. While in that area, adjust the shading on the feet.
Painting the stamping block
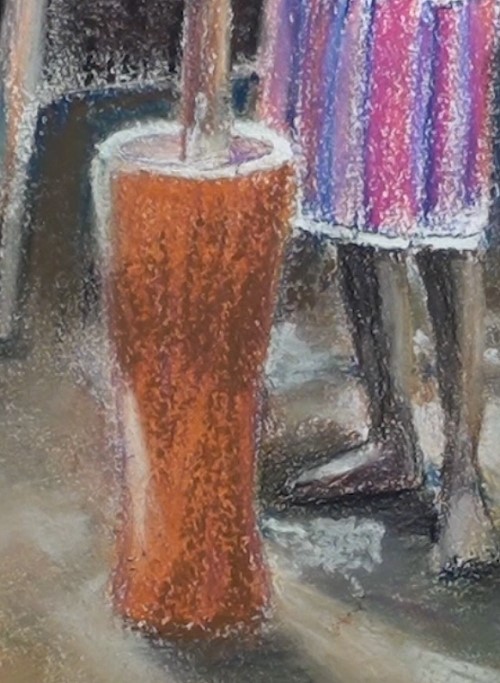
Fill in the block with a wood tone. Smooth it out and use a pencil to sharpen the edges. Add a lighter colour at the top where the sun is shining and to the other sunlit spots on the ground. Blend them in.
Add detailing to the stamping block. Adjust shadows and highlights to give it character.
Finishing up
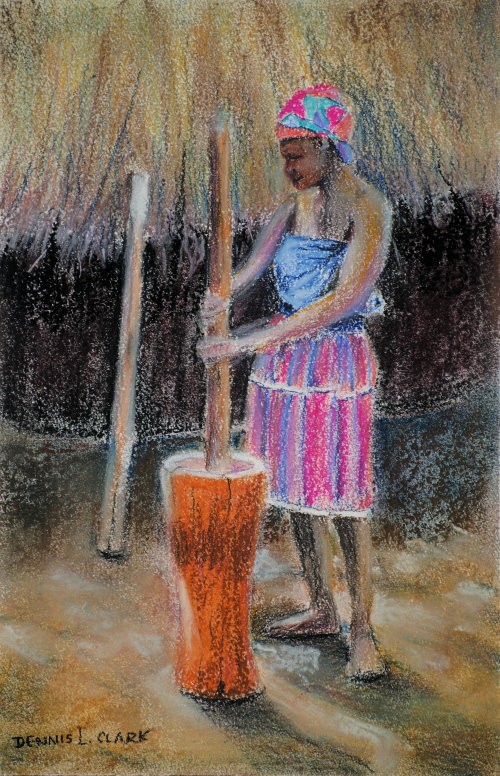
Go back over the painting to be sure you have all the details correct. Be sure that all colours are up to the masking tape so there will be a crisp border when the tape is removed.
Click the button below to view the real time follow along version of this class:
Pin Me
