Class Tutorial
Upright or flat
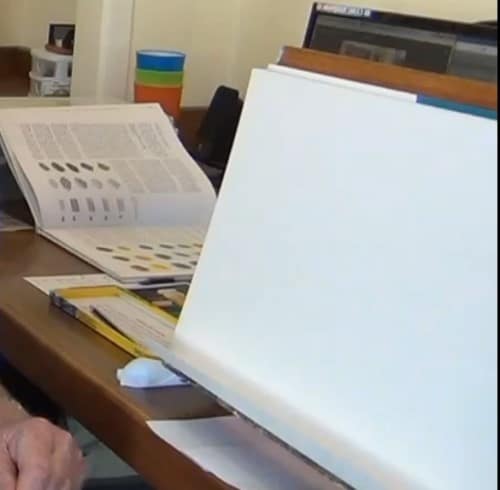
Work with your board upright, or lay it flat if that works best for you. Do note, however, that by working with the board upright, it is easier to catch the pastel dust as it will fall onto the tray or table below. If working with the board flat, you will need to tap it from time to time to clear off the pastel dust.
Flat stroke
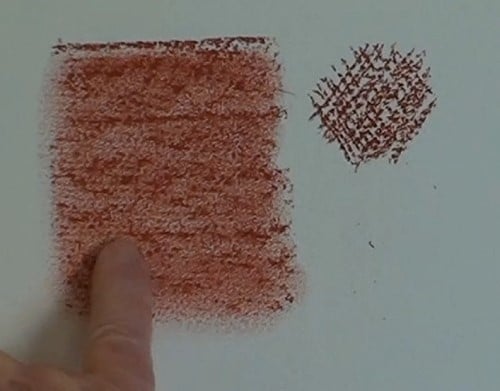
Use the pastel to rub across the paper to fill in the color needed. Either leave it as is for a special effect, or use your finger or a stump to smooth out the colour.
Blending
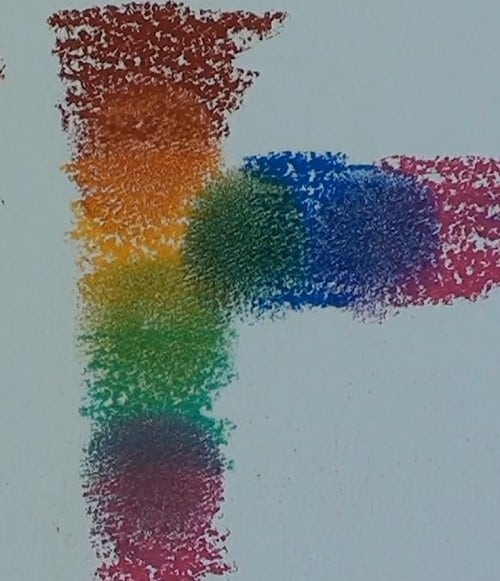
Rub on blocks of different colors next to each other. Use your finger to blend them together to create different colors. Cleaning your finger between each blending is important to keep dust down and retain clarity of color. Use this method to create your own color chart. Do spray it with a fixative to protect it.
Sketching
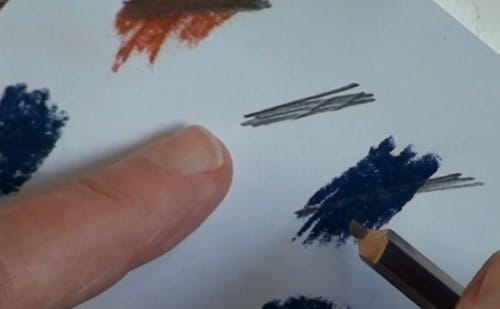
If you use a graphite pencil to sketch for your painting, use only a very light touch as dark graphite will shine through the pastel. It is best to sketch with chalk.
Making a stump
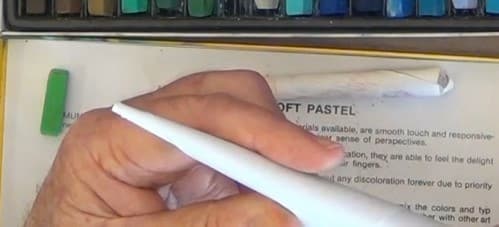
Use a quarter sheet of typing paper to roll into a stump to use for blending. Make several in various sizes. Have some ear buds (Q-tips) to use for small areas.
Painting apples
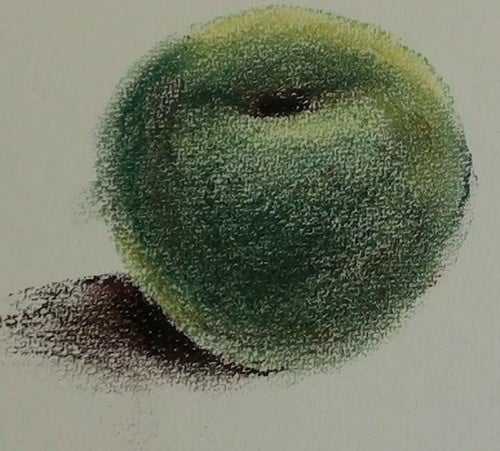
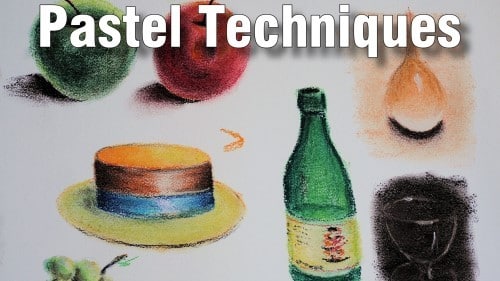
Draw an apple shape. Follow along as Dennis fills in the colours needed to create the contours, mid-tones, highlights, and shadows of the apple. Use your finger to blend the colours. Continue with a red apple, using chalk for the outline. Use white pastel to create a shiny highlight.
Painting a straw hat
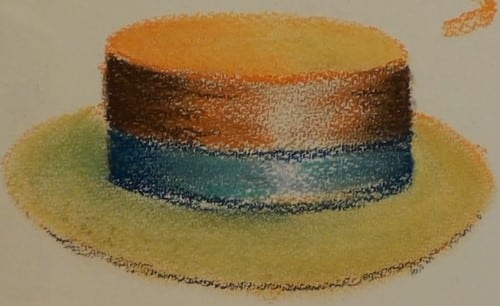
Use chalk to outline the hat. Be sure the brim of the hat is not in line with the band on the hat. Block in the colours as you see them (mid-tones, highlights, shadows) Blend out each band of colour (light colours first). Leave some white of the paper coming through.
Go over the colours again with highlight or shadow colours and smooth out to show no texture at all. Add in the thickness of the rim. Blend using your finger, an ear bud, or stump, as appropriate to the area you are working.
Painting a glass bottle
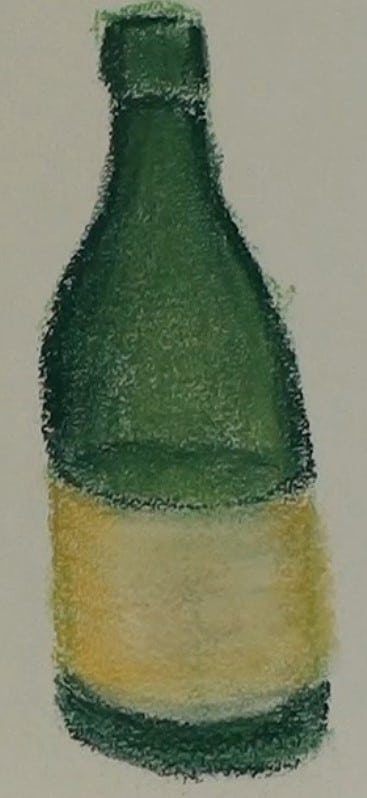
Use chalk to sketch on the shape of the bottle, being careful to get the proper proportions and symmetry. Colour in the bottle and blend. Outline the label and give a hint of its depth on the back of the bottle. Mark off the label and show a hint of it on the back of the bottle. Use shadings to show the roundness of the bottle. Fill in the label (just hint at a logo and writing). Finish off the top of the bottle.
Painting a waterdrop
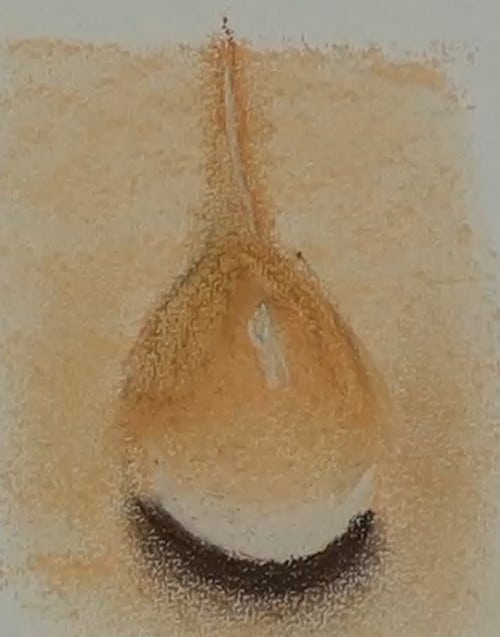
Lay down a background colour. Sketch in the shape of a water drop. Put a dark shadow on the bottom. Lay down some white at the bottom. Layer darker and darker tones to give the drop some definition, blending in each layer. Be sure to leave a white space for the reflection. Feel free to add the path made by the sliding drop.
Painting a glass
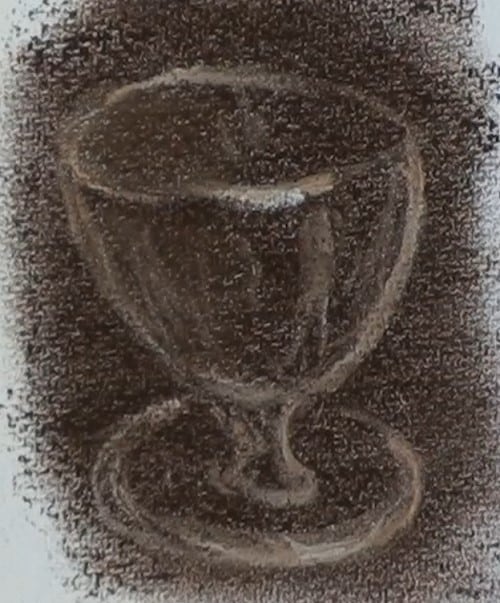
Lay down a dark smudge. Sketch on the shape of a glass with light chalk. Add highlights with chalk.
Add another lighter color over the background and then lift it away to create more of glassy effect.
Painting grapes
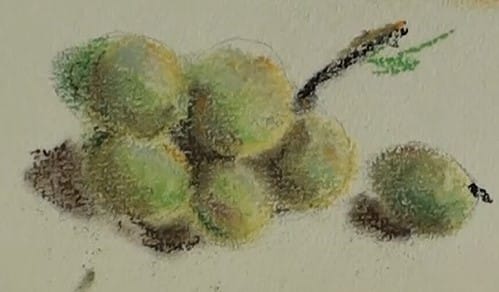
Lightly pencil in a few grapes. Block in the colours as you see them (light to dark). Blend. Add shadowing on the grapes, and cast shadows. Use white for highlights and sky colours to reflect the sky.
Add stems. Give the grapes some orange highlights, too.
Final painting

Click the button below to view the real time follow along version of this class:
Pin Me
