Short Class Video
Class Tutorial
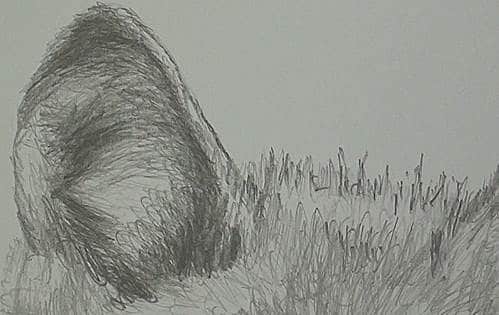
Drawing the ear
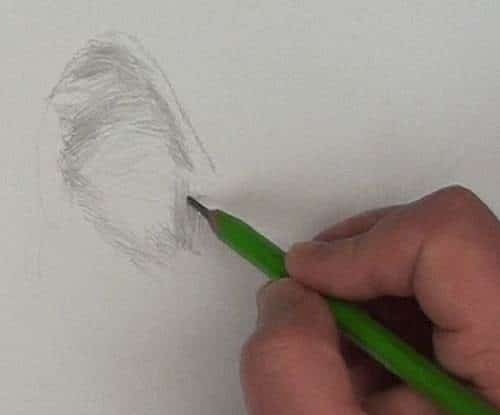
I will often start with the eyes. But today I have chosen the ear so that I can start at the top and then work my way down. I am using a HB pencil and a zig-zag scribble motion to establish a basic hair effect over the entire wolf.
Overlapping hairs of the wolf
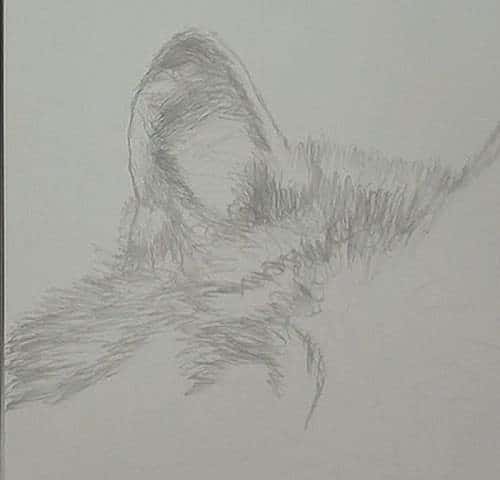
What I am looking for are the directions of the hair in each area and the darkness. Add more scribbles in the darker areas and less in the lighter areas. The hair on the wolf overlap each other so this initial layer helps you create that effect and of course plot the basic tonal values.
Drawing in extra tonal values
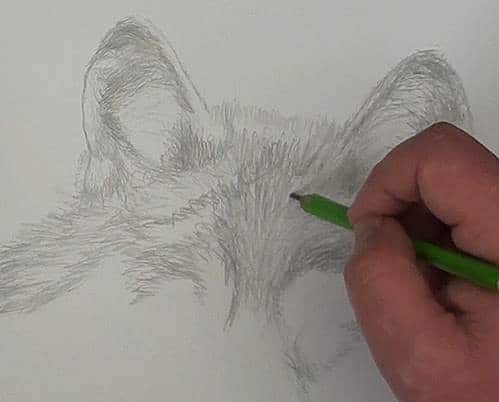
Now we can refine these tonal values and create the overlapping hair effect by moving to a darker pencil and increasing the tonal values in the correct places. When we lay down the initial tonal value with the HB pencil we didn't press hard. Now you can vary the pressure and the density of scribbles to ensure you match the tonal value in each area.
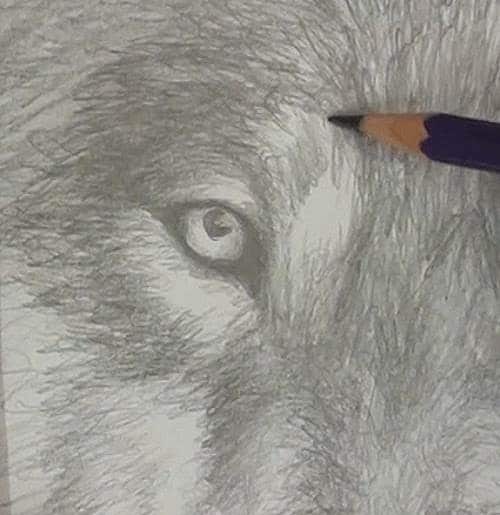
Zig-zag stokes to match the hair lengths
Here you can see a close up of the zig-zags notice that I vary the length of the strokes to match the length of the hair in each area. What I want you to notice is that I am pointing to the corresponding area on the reference photo where I am drawing. This ensures I don't get lost and that the features end up in the correct place on the wolf. If you don't do this I find the features tend to drift to the left or right.
Drawing the mouth area
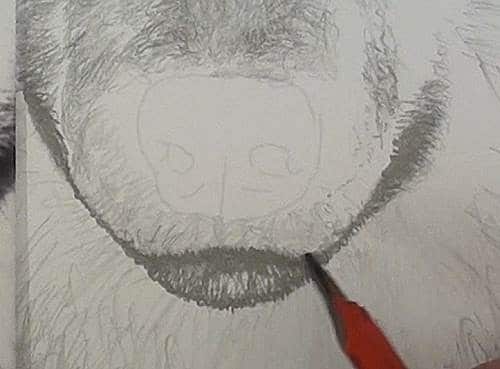
The mouth area is quite dark, yet it actually has a lot of detail in it, so you will need to look very carefully to spot these low contrast details. You want the area where the top and bottom jaw meet to be dark to separate them. On the sides you want a few dark dots to show where the whiskers come out.
Drawing the nostrils
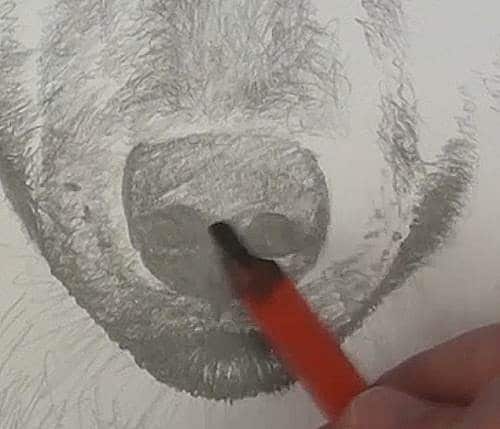
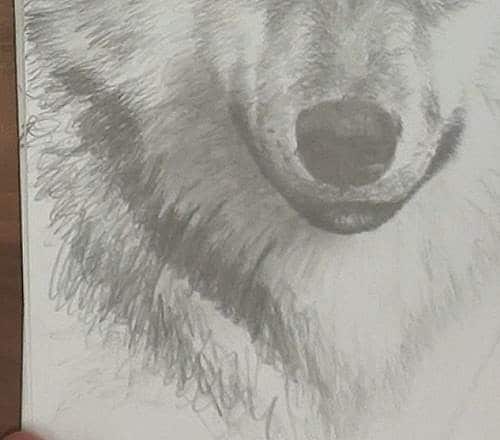
On the nose the nostrils need to be super dark to get the looking in effect. Then also look for the light reflections and keep those areas lighter.
The face casts a shadow on the neck so scratch some graphite onto a paper and use a soft cloth to shade this shadow in.
Drawing in mane using lighter and darker tonal values
Now we can move to the main. Here you want to concentrate on showing the lighter and darker strips over lapping each other . You do that by establishing the dark strip first, then negatively drawing in the dark hair under the lighter hair.
In the white hair just suggest a few hairs. If you try to add too much detail, it will appear darker.
Drawing the eyes
For the eye start by establishing the shape and the darkness in the pupil. Then with a softer pencil shade the roundness of the eyeball. Finish off by drawing some detail around the eye. The eyes are the focal point so by adding detail eye, we will create the illusion of detail everywhere. Do the same for the right eye. Notice how I have avoided the area in the eyes where the sun reflects.
The basics of the wolf are now complete so stand back and check your tonal values. If required lighten the drawing negatively with an eraser or darken with a pencil.
Add some of the light reflecting in the wolfs coat

Now let add some of the light reflecting in the wolfs coat. For this I am using standard colored pencils. With a mustard yellow shade in the eyes and yellow areas of the hair. I am not trying to get any detail. We have already drawn that in with the graphite pencils. I simply add flat shadings.
With a brown darken the outsides of the iris to make the eye look round.
Use the same pencil to shade the brown areas of hair. Here you can see we are gradually building up the intensity of the yellow and brown a closer match to the photo.
Use a blue pencil to add the blue reflections to the wolf
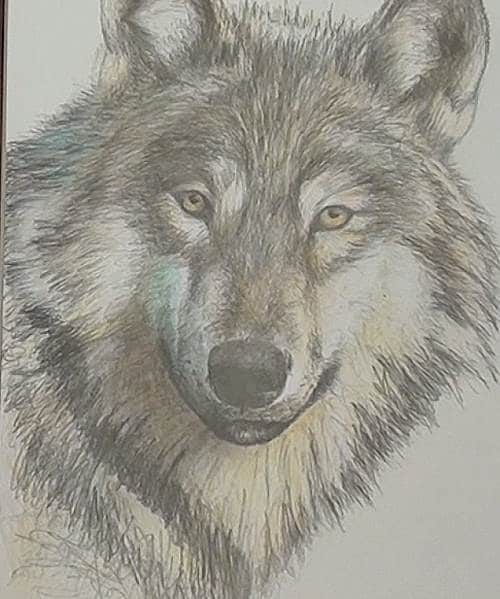
Lastly use a blue pencil to add the blue reflections as well. Just don't make the blue too intense otherwise it wont look natural.
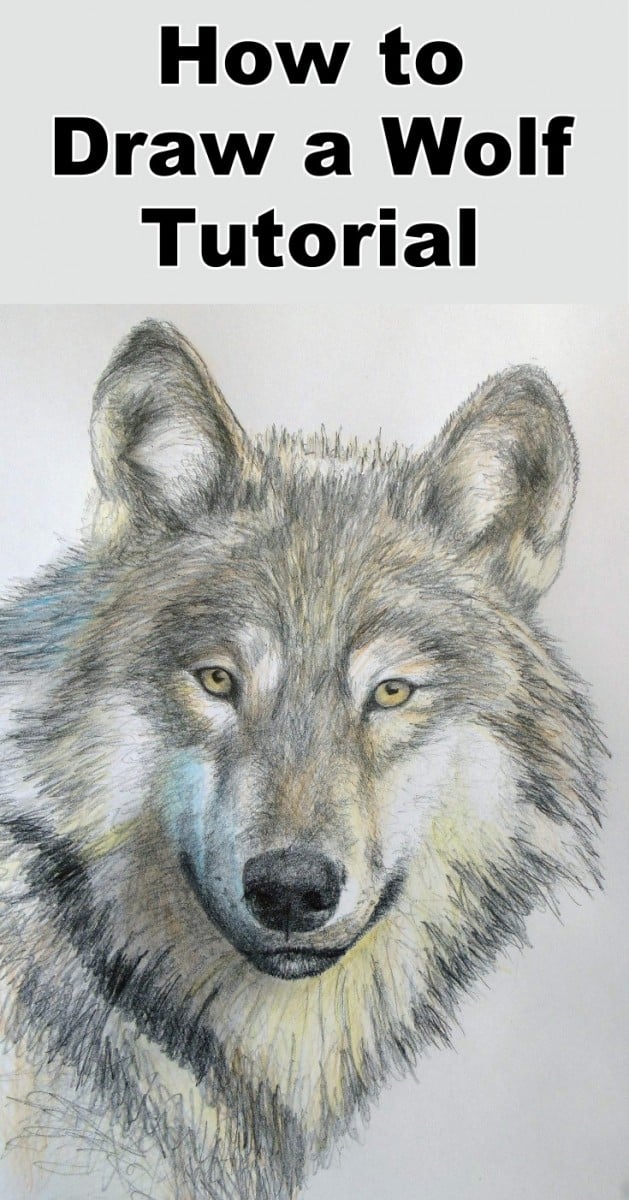
Now you know how to easily draw a wolf!
If you enjoyed this tutorial you will also enjoy learning How to Draw a Lion
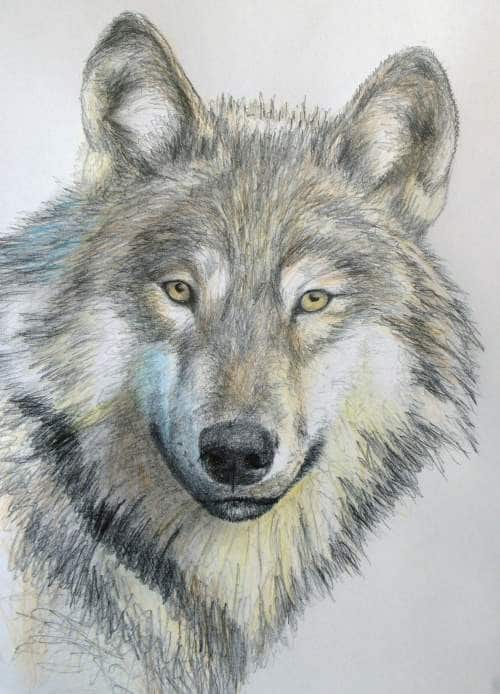
Final drawing
Click the button below to view the real time follow along version of this class:
Pin Me