Short Class Video
Class Tutorial
Painting the background
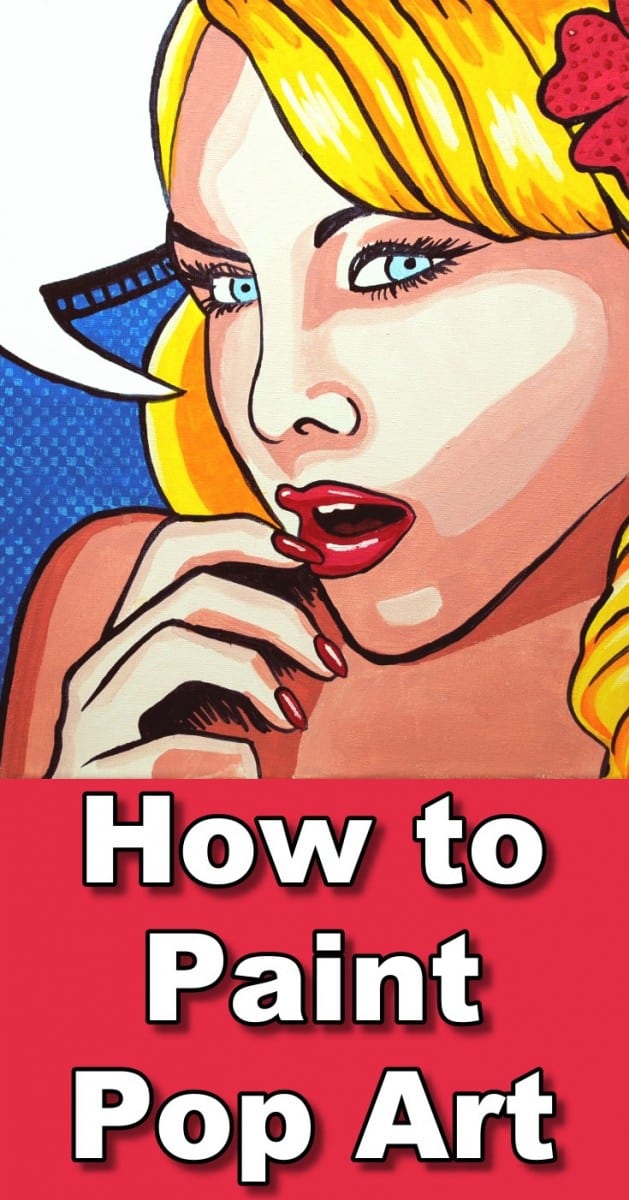
Today we are going to paint a pop art portrait of this lady.
We will paint her to look like a scene from a comic book, just like Roy Lichtenstein used to do.
I start by drawing the basic outlines of the lady onto a canvas as well as a portion of a speech bubble.
Traditional pop art was made using the screen printing technique and flat bright colours which had no shadings. We are going to replicate this effect using standard brushes and acrylic paint.
I start off by blocking in the background with cerulean blue.
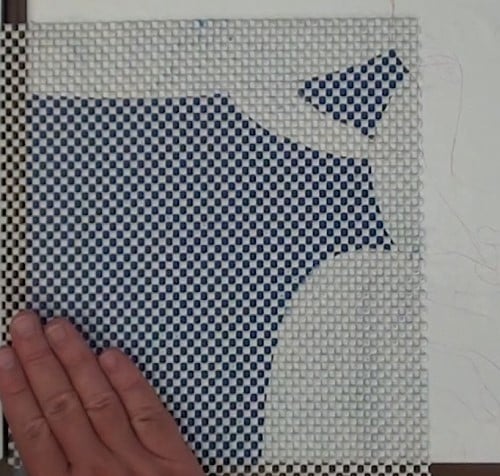
I then cut out a piece of non-slip mat the size of the background.
We are going to use this to get a Ben-Day dot effect in the background. This will suggest a printed effect.
I only want these dots in the background however so I use clear cover to mask off the surrounding area.
Clear cover is a transparent sticker which can be cut using a craft knife.
I then add some white to the cerulean and carefully coat the non-slip mat with this paint. I am essentially forming a stencil which will print dots onto the canvas.
I carefully lay the mat onto the canvas and press down to transfer the dots, adding more paint until I am happy with the effect.
I have not tried to get the dots perfect as this adds to the printed effect.
I block in the speech bubble with white paint as well as the white of the eyes.
Painting different shadings of the face
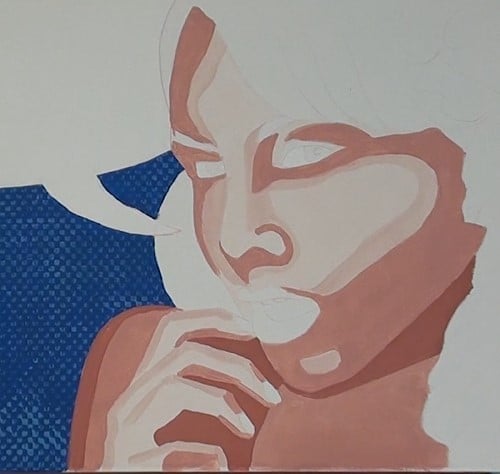
We can now move on to the skin area.
As we cannot do any shading we will look for areas of similar tonal value and block them in with different values of skin tone, leaving a sharp edge between each value.
Painting the hair
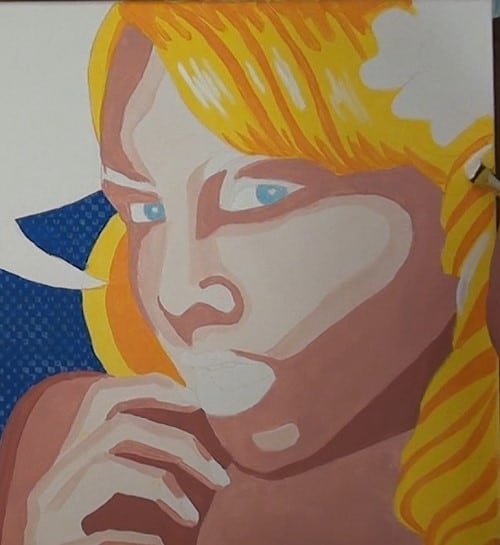
The lady has blonde hair, so in keeping with the process used by comic makers I block in the hair using yellow.
To create the effect of locks I paint solid lines separating each lock using orange.
To suggest shadings I paint lines of varying length using the orange in the dark areas and white in the highlighted areas.
Standing back I felt this transition on the cheek was not broad enough so I widened that.
Always remember to stand back from your paintings every now and again. You will be amazed at how many glaring mistakes you miss when painting up close. Standing back allows you to spot to these mistakes before it is too late.
Painting the lips, nails and flower
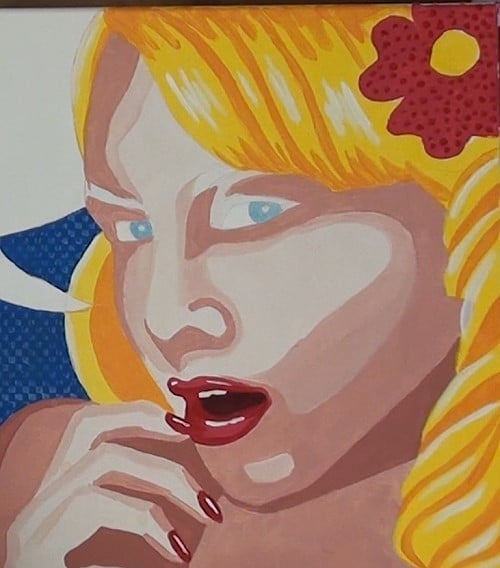
I block in the inside of the mouth with alizarin crimson and the lips with a lighter version.
The lip colour is also used on the nails and flower.
To suggest shading, I block in solid areas on the mouth and nails using cadmium red.
To add interest to the flower I add random dots onto the flower using the same colour.
The lips and nails are highlighted using white and the shadow in the centre of the flower gets a touch of brown.
Painting the black outline
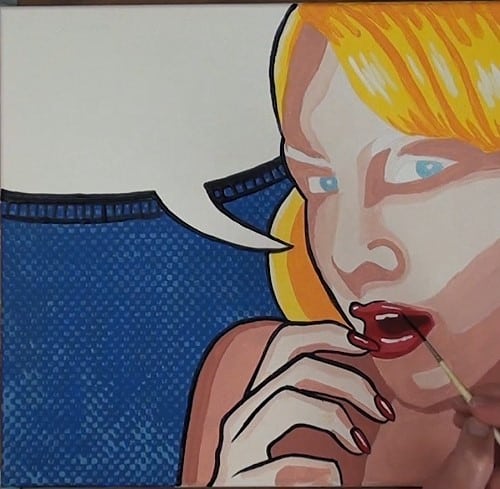
Now the fun starts as we use black paint and a rigger brush to outline all the major elements.
It is these outlines that bring the entire painting together and make it pop.
As you can see in a short while we have gone from a bunch of random blocks of color to a beautiful pop art portrait by adding the outlines.
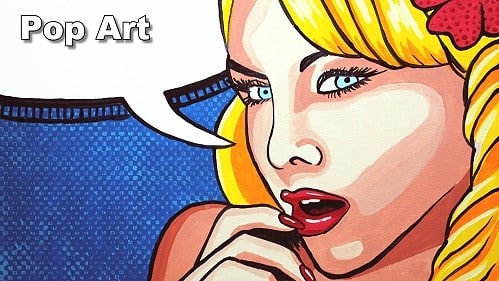
Final painting
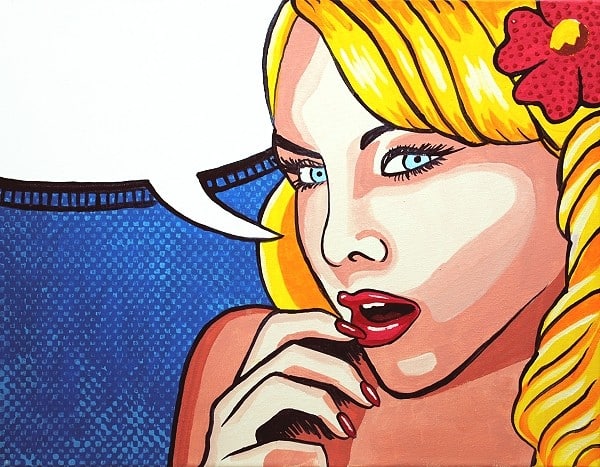
Click the button below to view the real time follow along version of this class:
Pin Me