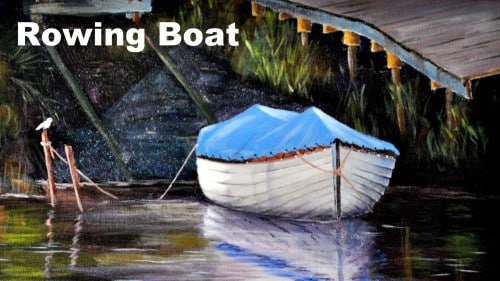
Short Class Video
Class Tutorial
Paint the background
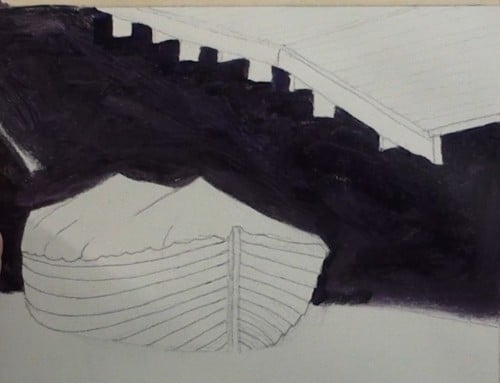
Mix up a very dark mix of Dioxazine Purple and Raw Umber for the background. This mix will result in an earthy colour. Leave it roughly painted.
Block in the background and carefully go around the edges so as to leave the other objects nice and clean. Use a flat synthetic brush to do this .
Paint the grasses
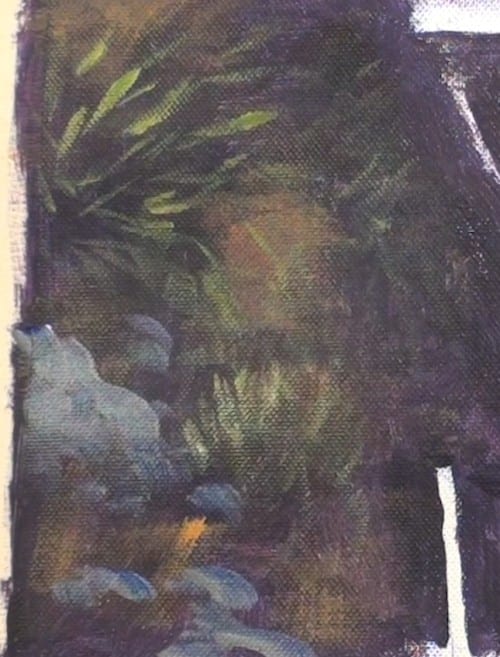
With Yellow, paint in the lighter patches where the sunlight catches the ground. It is very late afternoon scene.
With the flat synthetic brush flick in some of the grasses on the left that catch the sunlight. Add a few more towards the water’s edge. Don’t try to detail them at all.
With a Blue/Gray colour, paint in the area on the slipway that is catching the sun. A few touch-ups with the same colour on the lefthand side.
With a light Green mix, and still using the flat brush, flick in the long grass at the side of the platform. Don’t make them too even and regimented. Then flick in some very light Yellow/Green for the sunlit grasses.
Paint in the slipway rails and the front side of the trolley at the top edge.
Paint the platform
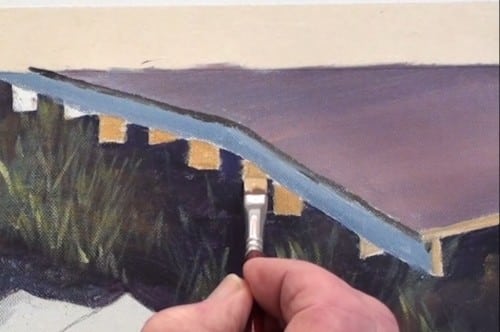
With an Orange/Gray mix, paint the top of the platform . Keep the strokes in line with the planking.
Paint the Gray sides and edge of the planking with a dark colour.
Mix a light colour with Yellow Ochre and White and paint in the posts and beam ends in the sunlight. Carefully add the shadows to create depth. Continue painting the posts in shadow.
Paint the top of boat
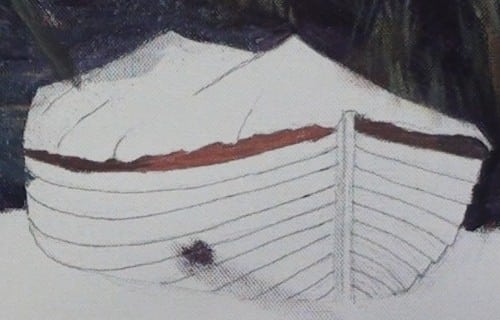
With some light Blue and some dark stripes paint the impression of planking.
With dark Orange, paint the gunwales (gunnel) of the boat.
Paint the cover
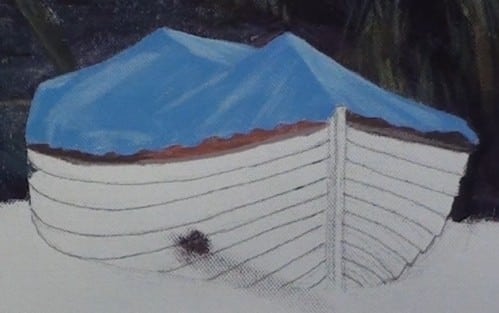
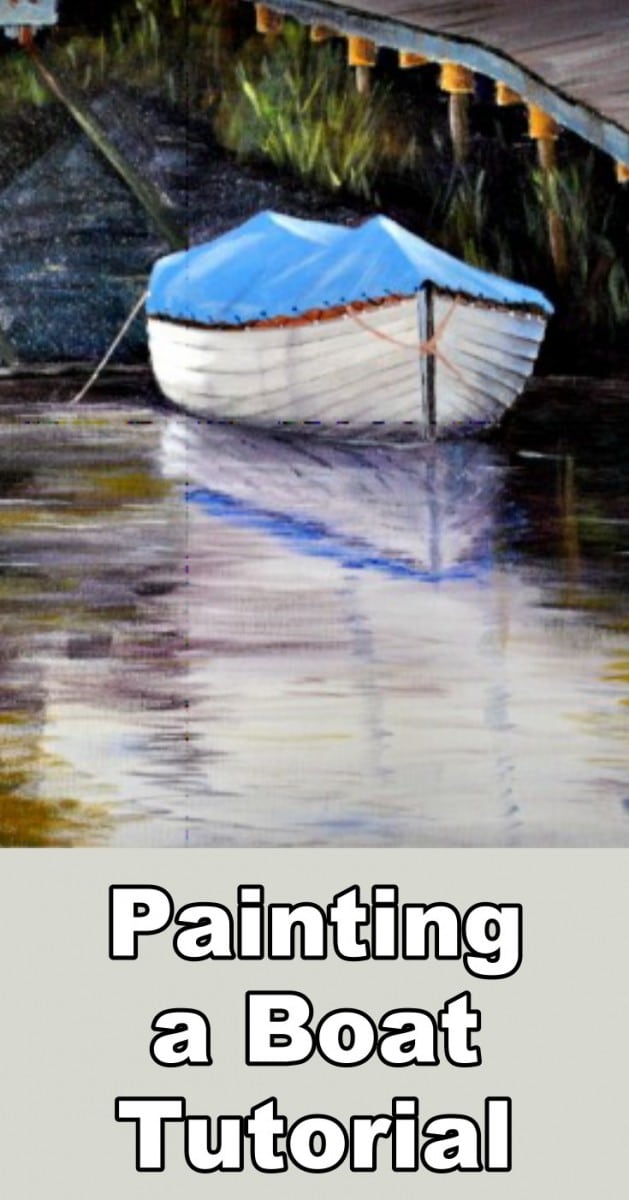
Paint the Blue tarpaulin and scallop the edging. Paint in the reflections that add to the shape.
Paint the boat sides
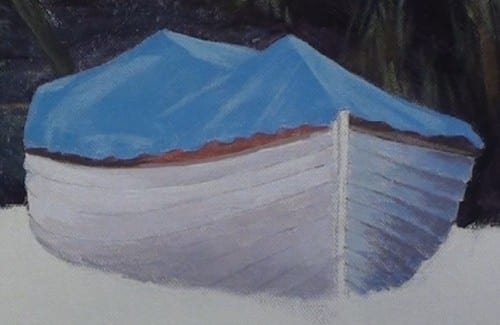
With a Blue/Gray colour, paint the shadow on the boat. Add the shadows caused by the clinker planks.
Note the grading of the shadows.
With a lighter Blue/Gray, paint the sunlit side. Be careful not to completely cover the pencil lines for the clinker planks. Paint the bow and complete the plank shadows – very lightly on the left side.
Paint the lugs of the cover
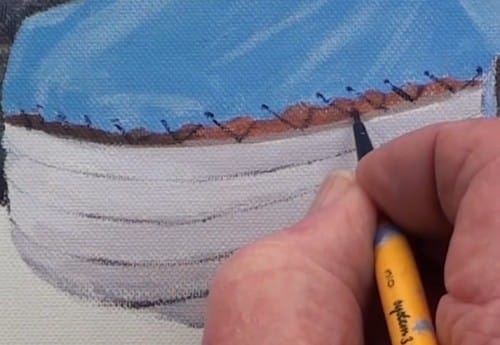
Dot in the holes on the cover and paint the cords. Add the White dots for the lugs.
Paint the water
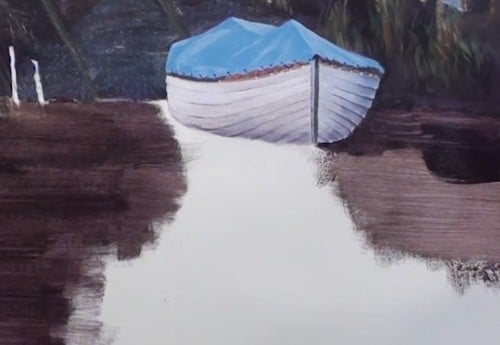
With a lighter colour of the dark ground colour begin to block in the water. Don’t go in the area that reflects the sky. Add the darker shading.
Paint the reflection
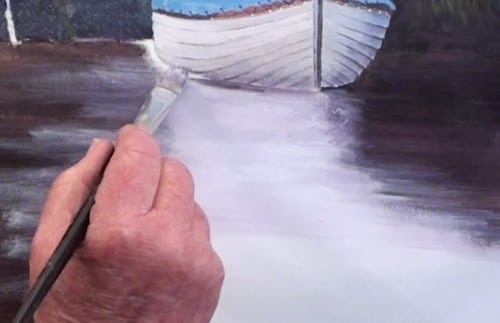
With a light Blue, paint in the area reflecting the sky and with horizontal strokes imitate the ripples on the water. Lightly add the reflection of the boat. Paint the reflection of the planking. Don’t be too accurate -the water is moving.
Roughly add in some of the grass reflections. There are lots of ripples. Using the cutting edge of the flat brush, add lots of short horizontal flicks, and using a variety of colours paint the water surface. Any vertical lines will reflect in a zig-zag fashion.
Carefully add in all the tiny nuances to the water and boat to make the scene look more realistic.
Paint the ripples on the water
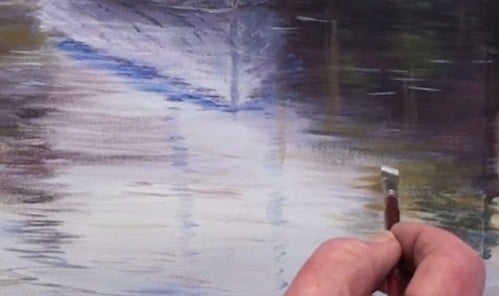
With some very light Blue paint some splashing at the water’s edge. This is a lovely visual separator. Stroke in some light ripples on the surface of the water.
Add some life to the scene
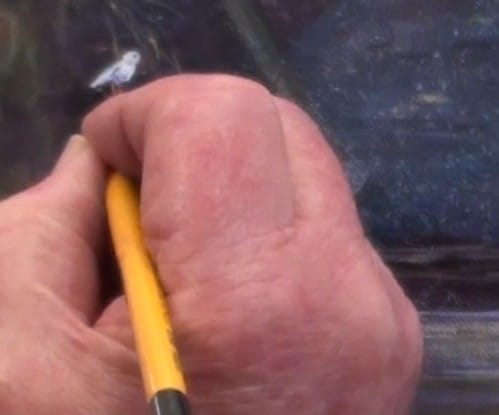
The painting needs some life, so let’s add a small gull on the post for a secondary focus point to balance the White of the boat.
Add the mooring ropes to finish off this pleasant painting.
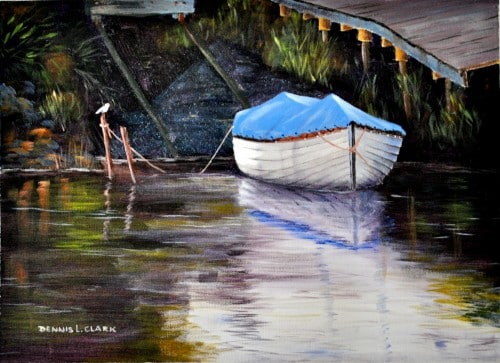
Final painting
Click the button below to view the real time follow along version of this class:
Pin Me
