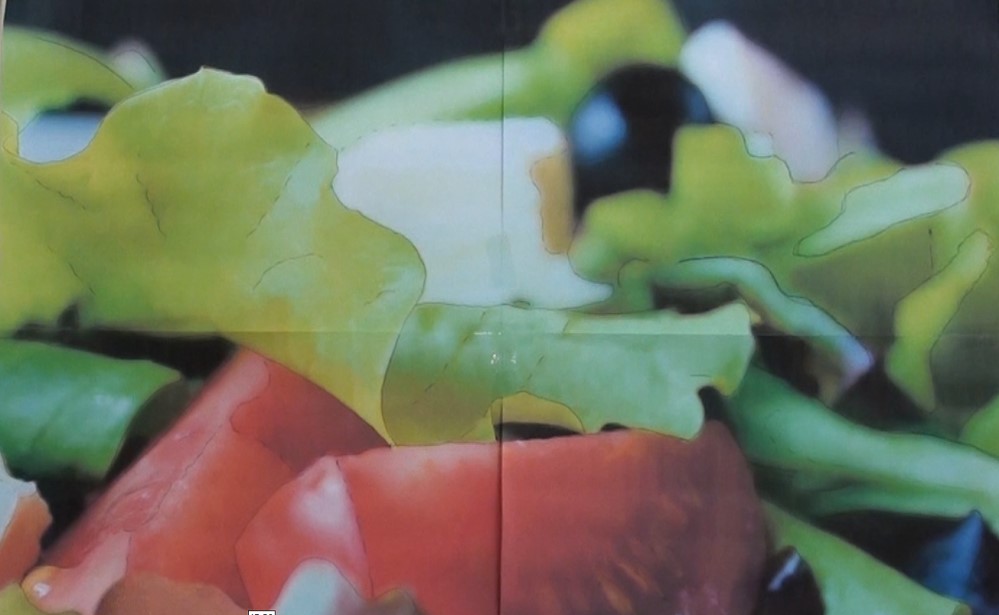
How to Paint a Bowl of Salad in Oil

Skill Level : 3 Advanced
Medium : Oil Painting
Subject : Still Life
Tutor : Nolan Clark
Class Length : 6 hours 20 minutes
Avg Rating : 
Silver Level or Higher Class
Class Description
In this class you will paint a sumptuous and realistic bowl of salad still life.
During the class you will learn:
1) How to plan a complex painting
2) How to paint realistic vegetables and greens
3) How to show depth in a close up scene
4) and much more...
Latest Reviews
No Reviews Yet

Short Class Video
Class Tutorial
Part 1 - Colour mixing for the Background
Nolan uses a multi-step technique to mix the correct colours:
1. Uses the Colour Buster to determine the components of each colour.
2. Blends the colours, gradually adding darker tones to lighter tones. No medium is added at this stage.
3. Compares colours directly to the picture on the computer screen, rather than comparing colours to a reference photo.
4. Be ready to adjust impromptu colour mixes as needed.

When needed, the colours will be moved from the mixing palette to a painting palette. Medium will be added then if needed.
If paint needs to be saved from one painting session to the next, it can be covered with plastic wrap and moved to the refrigerator.
Part 2 - Transferring the template to the Canvas
Use your preferred method to transfer the template to the canvas.
Part 3 - Painting the Dark Background
Begin by blocking in the background colours in the appropriate places, starting with the darkest shades. Use the flat of the brush to lightly blend them together.

Part 4 - Painting the Background Lettuce, Feta cheese pieces and Olives
Make impromptu mixes as needed for the salad ingredients.
Use the same procedure for each piece, beginning at the back, then moving to the foreground. Start by blocking in the darkest shades, then lighter shades, in the appropriate places one piece at a time. Blend in each to remove sharp lines, keeping them slightly out of focus.

Part 5 - Halo Effect
Use Nolan's tapping/dabbing technique to create the halo effect where the salad meets the dark background to give that out-of-focus look.

Part 6 - Defining the Dark Leaf in the front
Watch carefully as Nolan demonstrates how to lift out paint to define the veins, textures, and sky reflections to the dark lettuce in front.

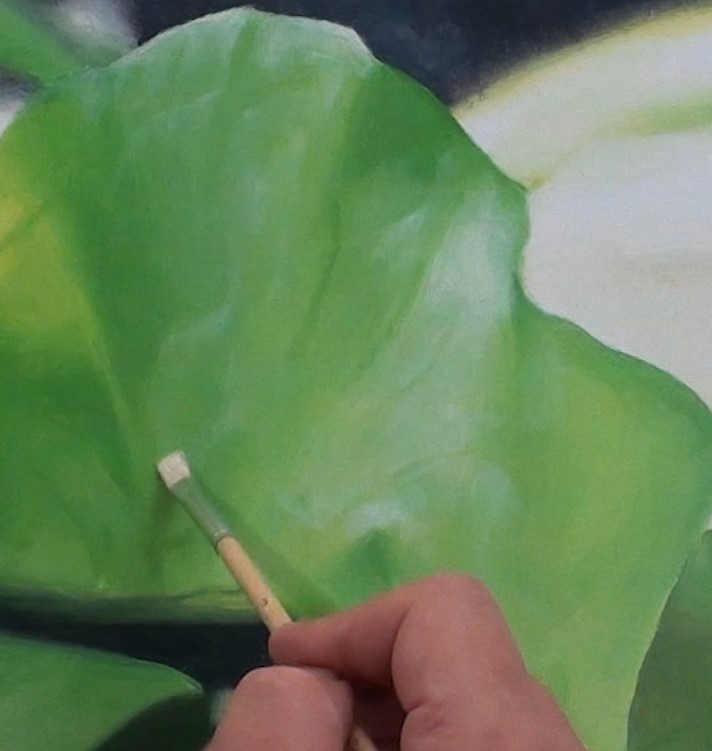
Part 7 - Painting the Salad Greens
Modify the existing salad colours as needed to include a mid-tone, highlight, and shadow colour. Add medium to create the proper consistency.

As you did in Part I, block in the colours in the correct places, starting at the back with the darkest tones, then moving on to the lighter ones. Blend, this time being certain to follow contours and leave crisp edges. Refine highlights, shadows, and any distinctive textures and markings.

Do note how Nolan handles the painting of the greenish-purple lettuce. Paint it carefully to keep the integrity of its uniquely mottled colouring.

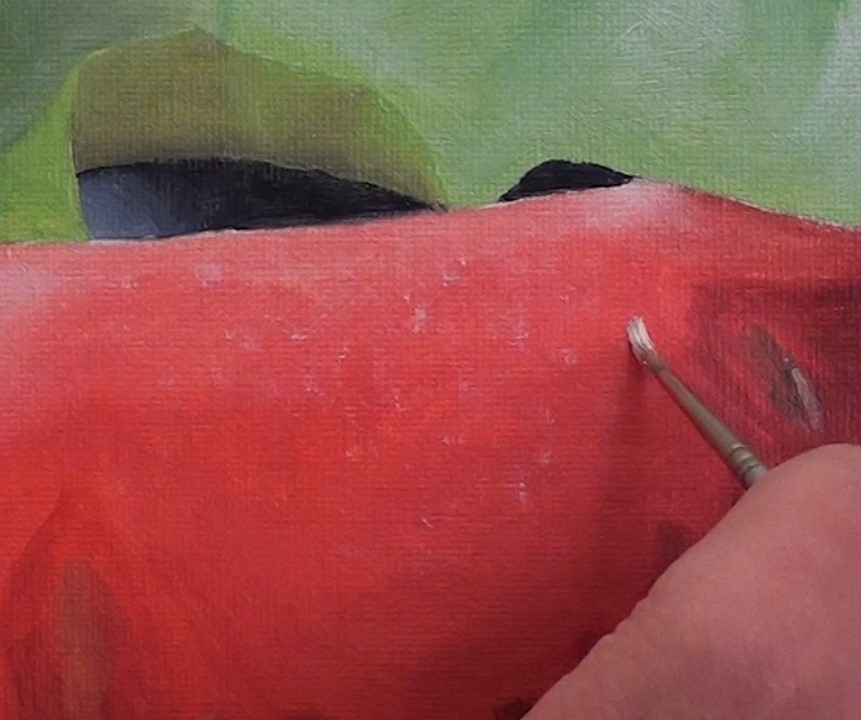
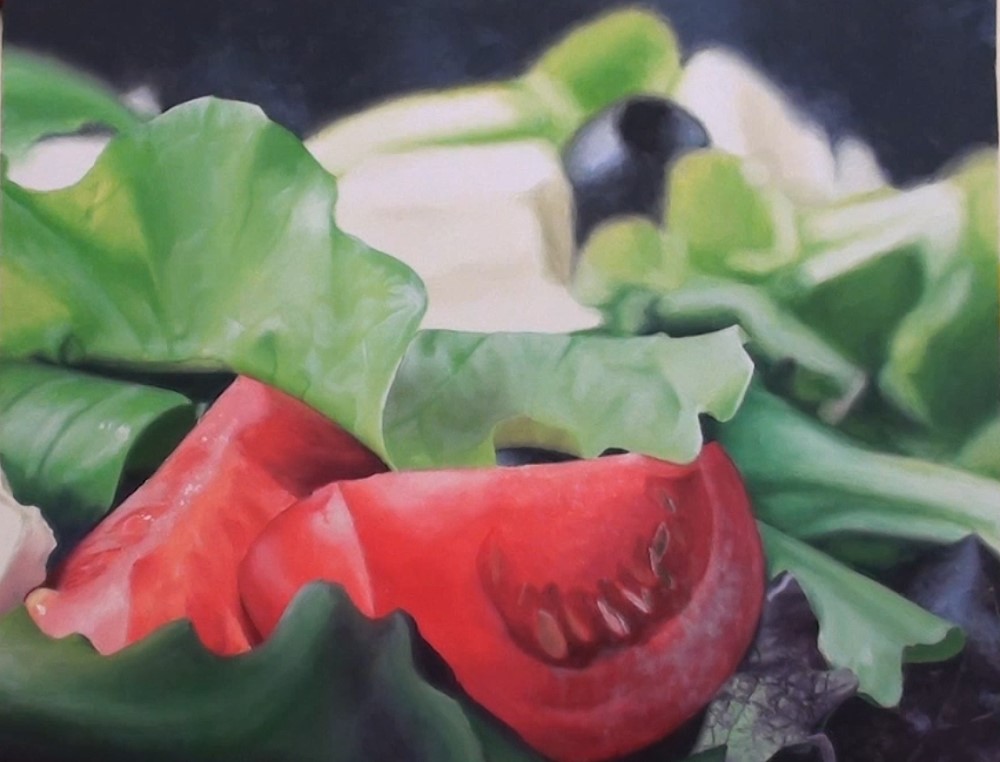
Part 8 - Painting the Tomato Slices
Use a device such as a Colour Buster if necessary to help you determine the exact colours for the tomatoes. Note the extensive palette that Nolan has to achieve the variations of colour in the tomatoes.

Begin blocking in the reddish tones as appropriate. Note that in the “watery/seedy” part of the tomato, you will need to go dark to produce a “looking-in” effect. Return to finishing the meaty part of the tomato, then adjust any areas that do not have clear definition.

Enjoying This Tutorial?
Part 9 - Painting the Tomato Seeds
Make impromptu mixes for the seed colours. Watch as Nolan demonstrates how to paint the seeds, or “pips,” as he calls them. Correctly done, your seeds will have a sunk-in look.

At this point, wait several days for the paint to dry.
Part 10 - Painting the Reflections
Now that the painting is dry, you will paint the reflections that will give life to your painting. You will achieve this with a colour wash.

First, determine the colours you will need for the reflections, then mix the paints.
Begin a applying the correct color washes in the appropriate places, following the contours as you go. Be sure your wash is thin enough for the underlying color to shine through. Go back to be sure you have not missed any of the reflections and highlights on the lettuce, tomato slice, and the seeds.
Part 11 - Finishing up - One last Look
Go back over the painting, comparing it to the reference photo to be sure you have all the details correct. Stand back, admire, and sign your work.

You May Also Like |